Arduino LED 4x4x4 Cube
I first gained inspiration to make a LED cube using an Arduino UNO microcontroller board back in the summer of 2016. I saw a video of it on YouTube, and became obsessed with the concept. By completing this project, I learned how to use an Arduino, solder, and drill; I also learned more about resistors, cathodes/anodes, and wiring. Most importantly, I learned how to be more patient; this project contained a lot of trial and error, and soldering the LEDs together in a cube form was not as easy as I had expected. Nevertheless, this was my favorite project in my ISP.
BACKGROUND INFORMATION / RESEARCH
Arduino is essentially a small computer that you can program to read and control electrical components connected to it. It is an open-source electronics prototyping platform. The Arduino UNO microcontroller board is the quintessential board for beginners/intermediate students interested in programming and creating interactive objects.
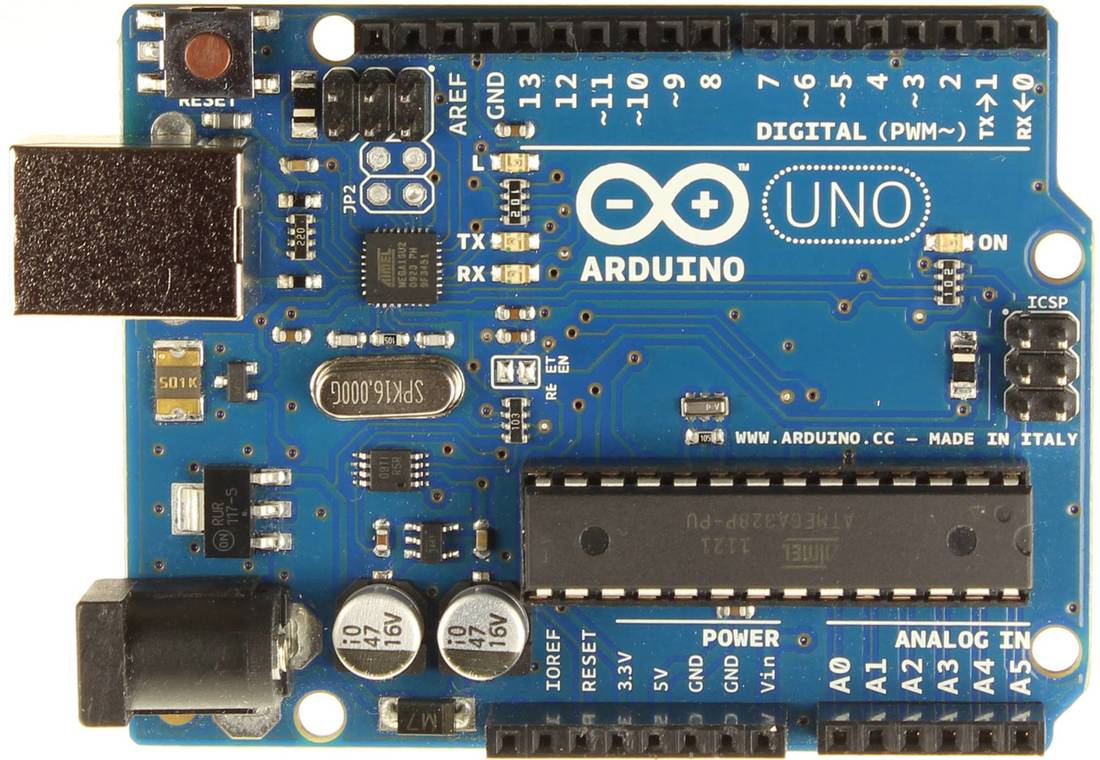
The microcontroller is on a circuit board, which makes it easy to receive inputs and drive outputs. Some examples of inputs include: a temperature sensor, motion sensor, distance sensor, and switch. Some examples of outputs include: a light, screen, or motor. To get started with the Arduino UNO board, all you need to transfer the program from your computer to the board is an USB cable, and Arduino Software as the IDE to compile code. The code written for an Arduino are known as "sketches", and is written in C++.
[Source: http://forefront.io/a/beginners-guide-to-arduino/]
[Source: https://www.arduino.cc/en/main/arduinoBoardUno]
[Source: http://forefront.io/a/beginners-guide-to-arduino/]
[Source: https://www.arduino.cc/en/main/arduinoBoardUno]
SUPPLIES
|
|
